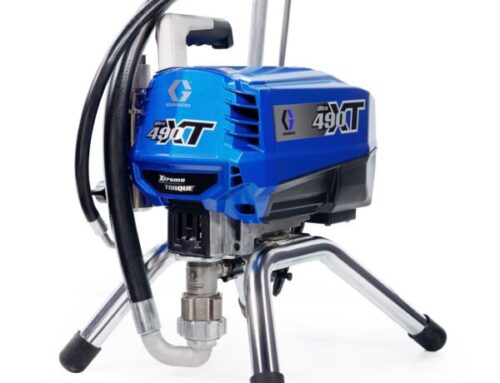
Previously we have shown how spitting and paint globules can develop when working with Airless lances. We’ve outlined spraying techniques and methods for how to prevent this from happening.
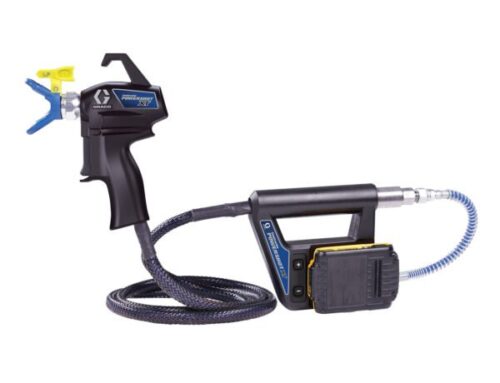
One option we suggested was using an anti-spitting valve such as the Graco CleanShot valve.
This solution became a popular choice amongst painters, however, a new question emerged “how do we correct adjustment the valve for optimal use?”.
In the following article we explain the optimal setting and operation of the Graco CleanShot valve.
How does spitting occur during spraying with Airless lances?
When working with a lance, the material supply is controlled by the gun. You press the trigger of the pistol, paint flows into the lance, then accumulates in front of the nozzle, is pushed through the nozzle and atomized.
This mechanism works very well as long as material is present and the pressure is maintained. However, if you let go of the trigger of the gun, the flow of paint stops in the gun. However, there is still paint in the lance, which moves towards the nozzle and jams in front of the nozzle.
Since no further paint is supplied from from the gun, the pressure applied to the residual paint in the lance drops rapidly. Quickly, the pressure is so low that it is no longer sufficient to atomize the ink sufficiently when exiting the nozzle.
The result of this is the familiar spitting phenomenon we see, when paint droplets land on the surface, as the last of the pressure escapes. This effect increases with longer lances.
When do we expect it to spit?
When it comes to spitting, this depends on various factors, mainly the nozzle size, the viscosity of the paint, the length of the lance and the pressure.
Here is an example: emulsion paint is sprayed at 130 bar with a 517er nozzle. Now the trigger of the gun is released and the paint flow is stopped. The material pressure in the spray lance drops, as no further paint is pumped into the lance.
At 90 bar, the spray pattern collapses at the nozzle and the pressure is no longer sufficient to atomize the paint sufficiently. This results in spitting.
How does the Graco CleanShot valve work?
The Graco CleanShot valve stops the flow of paint between the lance and the nozzle as soon as the pressure falls below a certain level.
In the above example (130 bar injection pressure, from 90 bar spitting will occur) it would be optimal if the valve stops the flow of paint at, for example, 100 bar.
So you can easily spray at 130 bar. However, if the fluid pressure falls below 100 bar, the CleanShot valve will stop and no further paint will enter the nozzle. Since it only begins to spit at 90 bar, so disturbances in the spray pattern can be prevented.
Adjust Graco CleannShot valve correctly
Optimum adjustment of the Graco CleanShot anti-spit valve
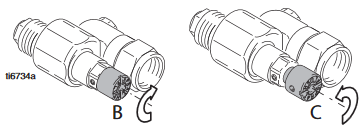
The Graco CleanShot valve can be regulated and so you can set exactly at which pressure the valve should close. For this purpose, a set screw is located at the rear part of the valve.
There, the closing point of the valve can be adjusted by turning left and right. Turning to the right (clockwise) increases the pressure point at which the valve closes. Turning to the left (counterclockwise) reduces the pressure to which the valve closes.
The lowest possible pressure setting is 48 bar. The system can also be used with Graco FF LP and LP low-pressure nozzles (or Wagner HEA nozzles).
If you turn the adjusting screw all the way to the left, the valve function is switched off. This allows the valve to be flushed and cleaned. In addition, it can only be used as a joint and without anti-spitting function.
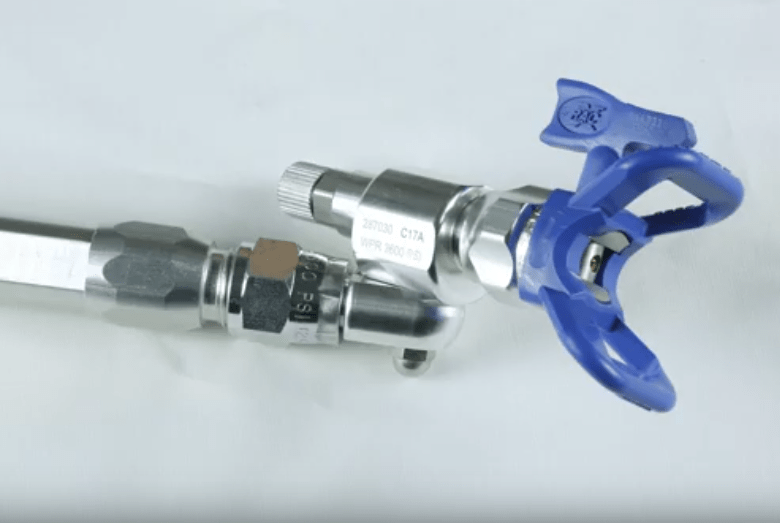
Graco CleanShot Anti-spit Valve
Remember: Turn Left for fLush. Turn Right for spRay
Instructions for optimal setting:
- Start the Airless device
- Turn the adjusting screw all the way to the left (flush) – open the CleanShot valve
- Let the paint flow into the lance
- Turn adjusting screw to the right (spray position)
- Set the desired working pressure on the Airless sprayer
- Gradually turn the set screw to the left, then operate the gun
- Repeat step 6 until the correct pressure point is reached and paint can be sprayed
Joint function – correct spray angle to the surface
In addition to the anti-spit function, the valve has a joint. Mounted on the front of the lance, the joint allows to create the optimal angle to the surface / wall.
The spray jet should hit the surface at a 90-degree angle to prevent paint overspray and to ensure a uniform application of paint. Here a joint helps to maintain the correct angle and avoid overspray / paint overspray.
Further information, tips and tricks for the Graco CleanShot anti-spit valve
We summarized some further information, tips and tricks around the topic Graco CleanShot valve:
- Article – Prevent spit and spatter with airless spray lance – Anti-spit valve
- Article – How to make the most out of joints on Airless lances & spray extensions
- Video – Reducing Overspray Part 2
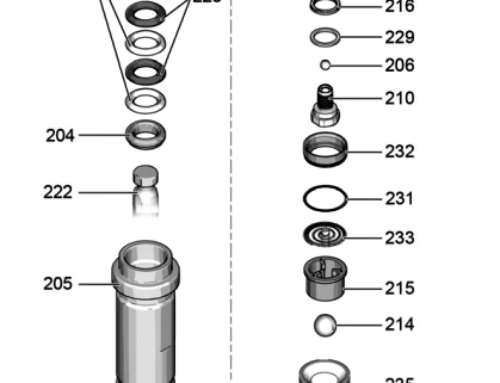
- Repair Graco CleanShot Valve – Construction Drawing & Parts (coming soon)
For more information and to contact us
Check out our Airless Discounter YouTube channel
Airless Discounter Instagram account
For any further questions or if you would like to get your hands on the Graco CleanShot, you can contact us on +49 (0) 30 220 15436, fill out our contact form below or email us. If you wish to purchase one of the products mentioned above, you can check them out in our online store. You can also visit us at our service base during office hours.