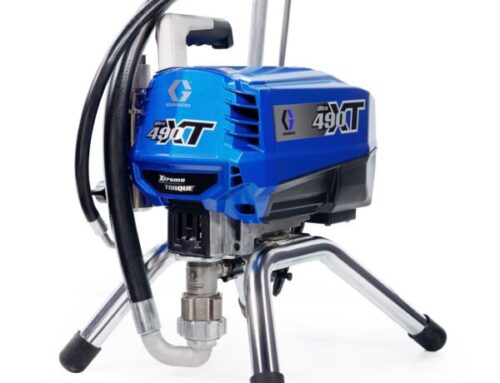
It can be extremely frustrating when your Graco Mark VII does not work. Is your sprayer not pumping, nor building enough pressure for the material to be sprayed properly? Well, hopefully it is not a serious issue and can be sorted out with a few minutes of maintenance. In this article we explore what the reasons could be. We will try to simulate a real work situation, imagining that suddenly, while you are working on a construction site for example, the pump stops working. These sorts of things generally happen when the pump is working at its highest capacity, with the pressure set to very high. What can you do to get your airless Graco Mark VII up and running quickly? What are the common problems, defects and malfunctions that can be dealt with on the job site so that you can continue working? All this and more in this article.
1. Clogged filters
Filters are designed to protect the sprayer from damage and blockages from larger objects. The Graco Mark VII, like most paint sprayers, has three sorts of filters, one on the mouth of the suction tube (inlet filter or filter sieve), a main filter in the pump itself and a gun filter. Although these filters prevent blockages and damage from undesired materials getting into the pump and spray system, these filters themselves can also easily become clogged with paint and block the entire system. It can take just one filter to be partially clogged for the pump not to be able to pump any material. Therefore, make sure that the filters are always cleaned after working. If the filters are damaged or the dirt can’t be removed, the filters must be replaced. Cleaning filters are easily done right after your project with water and a brush.
NB when you spray plaster, filters are generally not used, neither in the pump nor in the gun.
Gun filters
The Graco Mark VII is delivered with the blue Graco TexSpray gun for plaster in the standard version. This gun does not have a gun filter as a filter is not needed for plaster. If you are spraying paint however, you can use gun filters in this gun too. This filter can get clogged and should therefore be checked and cleaned regularly. Simply unscrew the handle of the gun and remove the gun filter for cleaning or replacing it.

Order gun filter directly – click here
Main filters
The main filter or pump filter is located on the left side of the machine. Blockages in this filter considerably reduce sprayer output, can cause spray pattern disturbances, dropouts, and sometimes can lead to a complete standstill. To clean or change the filter,unscrew the main filter housing and remove the filter. The filter is inserted on the filter core.

Order main filters #60 for Graco Mark VII – click here
Order filter core for Graco Mark VII – click here
Inlet sieve
The inlet or suction sieve is located at the end of the suction tube. This filter is meant to protect the pump and prevent it from accidentally sucking in coarse contaminants like for a example leaves, small stones or dirt in the material. This filter too should be regularly checked and cleaned, since its obstruction as with all filters can lead to malfunctions, such as:
- insufficient paint supply and irregularities in the spray pattern
- uneven spray pattern
- complete blockage of material supply

Order suction strainer (fine) directly – click here
Order suction strainer (coarse) directly – click here
NB The standard version of the Graco Mark VII is equipped to spray plaster (hose, hose whip, gun and spray tip). For thinner materials such as primer, dispersion or façade paint, we recommend using a thinner hose (hose with 3/8″ thread and 10 mm inner diameter instead of the supplied hose with 1/2″ thread and 13 mm inner diameter), hose whip, a gun with filter, a suction strainer and main filter and a suitable spray tip.
2. Inlet valve ball stuck or damaged
This is a relatively common problem on airless spray pumps. In the normal state, the valve ball of the inlet valve should be able to move freely. When it does get blocked, sometimes it can be enough just to push it a bit with you finger from beneath. If this does not help, the valve should be open and subject to a proper check. Sometimes the valve can be damaged by foreign objects too.

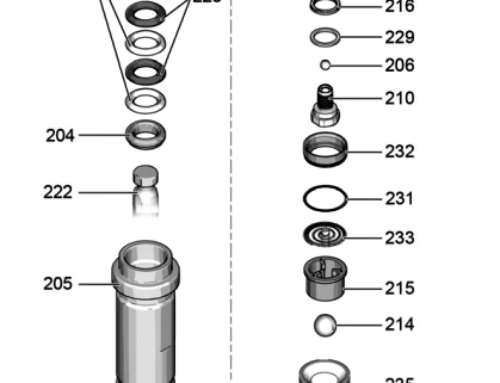
Construction of the intake valve of the Graco Mark VII
In the picture above, the structure of the intake valve area is shown with all components in the proper order. Here you can find all the individual components:
- Valve body of Graco Mark VII – 15A303 order now – click here
- Gasket – 107098 order – click here
- Valve seat – order 24M832 directly – click here
- Valve ball, ceramic – 118602 order now – click here
- Valve Cage – 16M658 order now – click here
- Spring – 24E027 order now – click here
- Spacer ring bush 16M291 – order directly – click here
- white seal spacer ring bush 108822 order now – click here
- large, black rubber seal 160325 – order directly – click here
3. Outlet valve ball stuck or defective
The outlet valve above the inlet valve too can be stuck, clogged or damaged. With a light blow of a rubber hammer against the intake pipe, the attached ball valve can sometimes be loosened. If this trick does not help, the valve ball must be physically loosened by pressing against it. To do so, remove the inlet valve. With a thin elongated tool you can then reach the outlet valve inside. We have used an Allen key because you don’t want your tool to be too sharp in order to avoid damages. Be careful when using it to press against the outlet valve ball.

Here are the most important components of the outlet valve at a glance:
- Order Valve – 240150 directly – click here
- Valve ball, ceramic – 116327 order here – click here
4. Relief valve clogged, leaking or broken
The relief valve controls the flow of paint to the hose and gun or back to the bucket via the return hose. In case of a malfunction, the valve may be completely blocked, so that no material will pass through and the pump will not spray. Or on the contrary, the valve is fully open, pumping material both to the gun and back into the bucket. In this case, there is a drop in performance and there is not enough material supply.

Causes of a malfunction or a defect of the relief valve may be blockage by paint, filler or sucked foreign matter. Over time the valve can also wear out.
Here are the spare parts of the relief valve of the Graco Mark VII at a glance:
- Relief valve – 24B156 order now – click here
- black plastic switch (for ProContractor) – order 24E233 directly – click here
- black plastic switch (for standard) – order 24E234 directly – click here
- Pin – Order 15C972 directly – click here
NB Some components of the relief valve differ between the Graco Mark VII ProContractor and the base model, the Graco Mark VII Standard, such as the plastic handle on the relief valve.
5. Graco Mark VII seals worn & damaged
Around the piston there are numerous seals that keep the piston in position and ensure pressure to be built up. The movement of the piston over time causes wear on these seals. If the sprayer no longer builds up the full pressure or even stops pumping, the cause may be due to worn or defective seals. A clear sign of this problem is very often traces of material coming out from the piston or the seals. So if paint or putty is seen on the piston, it can be assumed that there is a problem with the seals.
Order repair kit of seals / packs of Graco Mark VII – 24M830 – click here
6. Air is sucked in
If the bucket is empty or the suction tube is not fully immersed into the material, the pump can start sucking in air. when the sprayer is not supplied with sufficient material and it comes to irregularities in the spray pattern, sometimes the material does not even come to the spray tip. This problem can be reduced by using a sufficiently large material container.

The Graco ProContractor models also have a device called the Watch Dog. When this function is activated, no air can be sucked in, since the device automatically interrupts the pumping process as soon as air starts to come in. The Watch Dog switch is found next to the pressure dial, which both can be found below the SmartControl box (with red readout letters).
Order Graco Hopper – 90 Liter Material Container – click here
7. Power supply
Sometimes the disturbances may also be related to the power supply. Therefore it should be ensured that the power supply is sufficient. It must be taken into account that more power is required during the start-up phase (starting current). The Airless device should be started at zero pressure setting. Extension cables used should have a cable cross-section of at least 2.5 mm. When using a cable, the cable must be completely unrolled. Here are the main points at a glance:
- sufficient power supply via the mains or the generator
- starting current
- cable cross section 2.5 mm
- unroll cable reel
8. Spray tip worn, clogged, defective
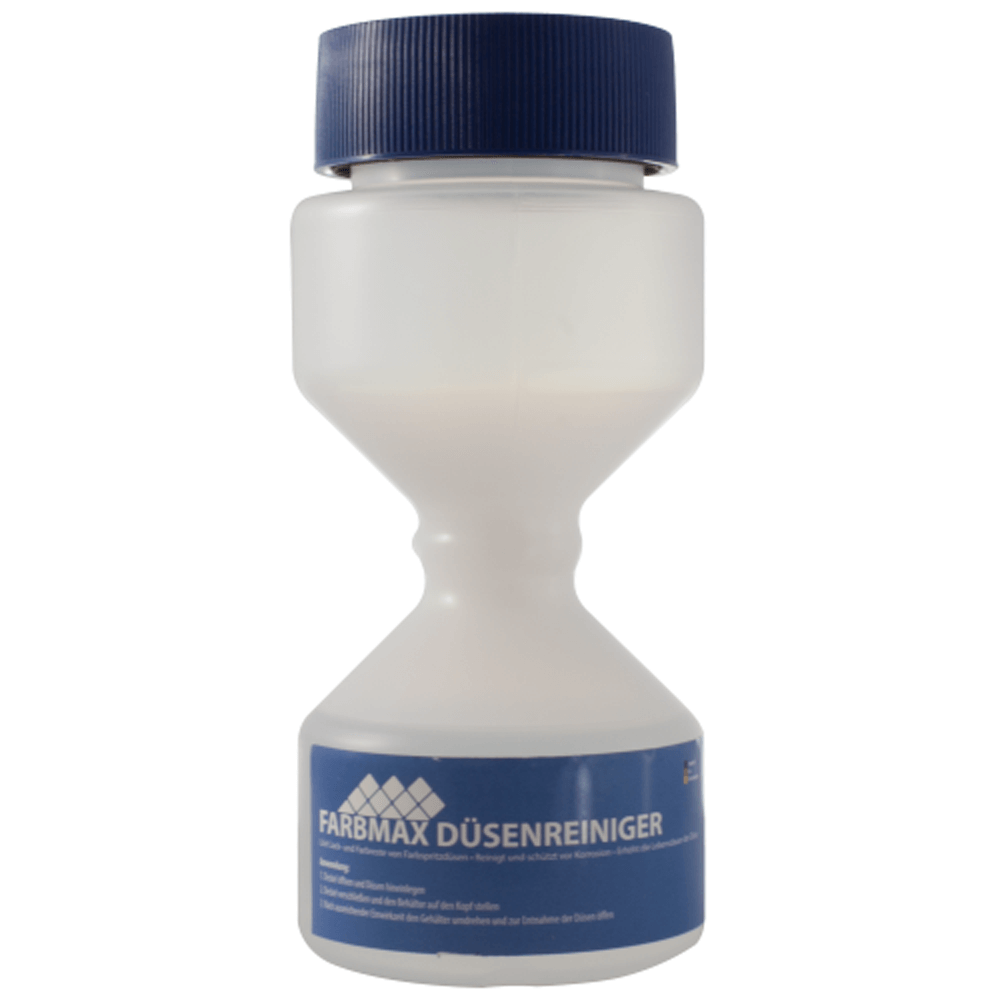
Clogged or worn nozzles can also cause disturbances in the spray pattern or stop the flow of material. In the best case scenario, you can simply free the spray tip from the clogs by rotating it 180 degrees and spraying birefly. If this is not working, then the tip must be replaced. In order to preserve the tips well until the next application and to protect them from residual material drying out inside them, we recommend to use a tip cleaner like the hour-glass shaped spray tip cleaner below.
- Graco RAC X tip – blue for primer, wall paint, fabric glue order now – click here
- Order Graco RAC X tip – brown for putty – click here
- Order Tip Cleaner – click here
For all further questions about the Graco Mark VII, please do not hesitate to contact us by phone +49 (0) 30/22015436, by mail at info@airless-discounter or our contact form here below. You can also find us on Facebook and Youtube.
Have a nice spray!